
Most homeowners fall for marble before they fully understand it. The veining, the sheen, the way it immediately elevates a bathroom or kitchen, it all looks effortless until installation day arrives. The truth is, marble installation require a level of expertise that separates a surface that lasts decades from one that cracks, stains, or chips within the first year.
Marble is a natural stone with specific structural and chemical properties. It is heavy, porous, and sensitive to both acids and impact. Done right, it is one of the most durable and visually striking materials available for residential and commercial spaces. Done wrong, it is an expensive mistake.
This guide covers everything from what professional marble contractors actually do on-site to how homeowners should clean, maintain, and restore their marble over time. Whether you are planning a new installation or dealing with a surface that has seen better days, this is the resource that answers every question honestly.
What Marble Installation Actually Includes
Marble installation is not a single task. They are a sequence of interdependent steps, each of which has to go correctly for the finished result to hold up over time.
Site Inspection and Surface Preparation
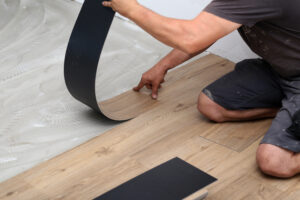
Before a single tile or slab is touched, professionals assess the existing surface. The substrate beneath the marble must be level, structurally sound, and appropriate for the weight of the stone. Any flex, unevenness, or moisture intrusion gets addressed at this stage, not after installation.
Skipping this step is the most common reason marble floors crack within months.
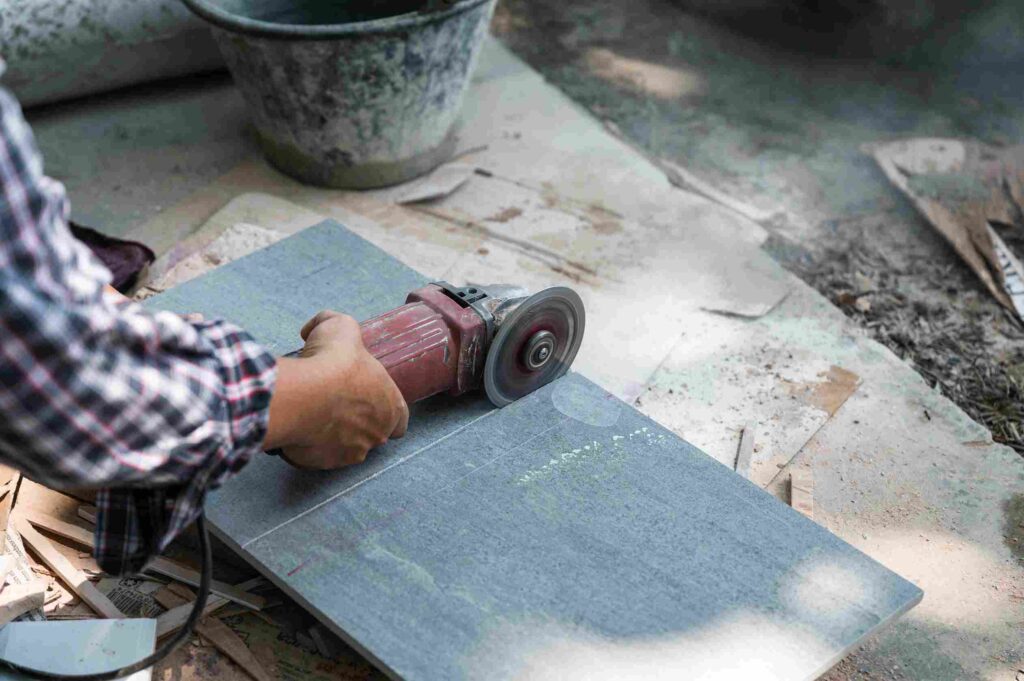
Measuring, Templating, and Custom Cutting
Marble countertops and large-format tiles require precise templates of the actual space. Cutouts for sinks, cooktops, and faucet holes are measured and cut before installation day. This is not adjustable after the slab is set.
Accurate templating determines whether the finished surface looks custom-fitted or visibly off.
Professional Installation and Alignment Techniques
Professional marble contractors set each piece using full back-buttering, applying adhesive across the entire back surface of the tile or slab. This prevents hollow spots beneath the marble, which eventually cause cracking under foot traffic or counter load.
Alignment across joints is checked constantly throughout installation. Grout joints must be consistent, and transitions between pieces need to be nearly invisible on polished surfaces.
Sealing and Final Finishing Work
Once the marble is set and the grout has cured, a penetrating marble repair and sealing product is applied to the entire surface. This sealer absorbs into the pores of the stone and significantly reduces its vulnerability to staining from liquids.
Without sealing at installation, even water can leave marks. With a quality sealer applied correctly, the surface is protected from day one.
Why Professional Marble Installation Matters
Avoiding Cracks, Chips, and Future Damage
Marble is dense but brittle at the edges. Improper substrate preparation, hollow-spot adhesion, or incorrect handling during cutting are the three most common sources of post-installation damage. None of these is fixable without removing and replacing sections of the surface.
Professional installation eliminates these risks at the source, rather than discovering them after the fact.
Getting a Perfect, Long-Lasting Finish
The visual quality of a marble installation depends entirely on the precision of the work. Uneven joints, misaligned veining, and grout haze on polished surfaces are all signs of rushed or inexperienced installation. These are not purely cosmetic; they affect resale value and long-term durability.
Why DIY Marble Installation Often Fails
DIY marble installation fails most often at substrate preparation and sealing, not at cutting or setting. Homeowners who skip a proper waterproofing membrane in wet areas or who under-seal the stone after installation end up with problems that no amount of maintenance will reverse.
- Marble requires a perfectly flat, stable substrate with minor flexing cracks on slabs
- The full back-buttering technique is not intuitive and is regularly skipped by amateurs
- Non-sanded grout must be used to avoid surface scratching during grouting
- Sealing must happen within hours of installation, not days later
How Marble Installation Works Step by Step
Step 1: Preparing a Stable and Level Base
The subfloor or wall substrate is checked with a level across multiple points. Any deviations greater than 1/8 inch over 10 feet are corrected with leveling compound or structural reinforcement. For floors with heavy marble, subfloor reinforcement is sometimes required before anything else proceeds.
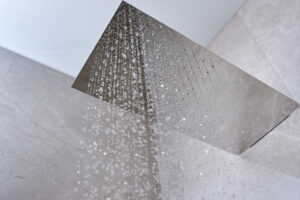
Step 2: Installing Waterproofing
Shower surrounds, wet room floors, and any marble installed near water sources require a continuous waterproofing membrane before tile setting begins. This membrane is applied to the substrate and allowed to cure completely. No marble touches a wet area substrate without it.
Step 3: Setting the Marble with Precision
Each piece is back-buttered and pressed firmly into the adhesive bed, with spacers maintaining consistent joint widths. Larger slabs are positioned using suction cups and alignment guides to ensure veining lines up naturally across the surface.
Step 4: Grouting Without Surface Damage
Non-sanded grout is used exclusively on marble, as sanded grout scratches polished surfaces during application. Grout is worked into joints carefully, and excess is removed before it sets. Grout haze left on polished marble requires professional correction to remove.
Step 5: Final Sealing and Cleanup
Once the grout has fully cured, typically 24 to 48 hours, marble repair and sealing compounds are applied across the entire surface. The sealer is allowed to penetrate and then is buffed clean. A final inspection checks for hollow spots, alignment issues, and grout consistency before the space is handed back to the homeowner.
Marble Maintenance: What Homeowners Need to Know
The most common complaint about marble is that it stains or etches. In most cases, that happened because nobody gave the homeowner accurate marble maintenance tips at the point of installation. The care requirements are straightforward, but they are non-negotiable.
Daily Cleaning Tips That Protect the Surface
Marble countertop cleaning for everyday use requires nothing more than warm water and a few drops of mild pH-neutral dish soap. Wipe surfaces down after use. Rinse with clean water. Dry with a soft cloth.
- Use soft microfiber cloths, never abrasive sponges or scrubbers
- Wipe up spills immediately, especially dark liquids
- Use coasters and trivets under glasses, bottles, and hot items
- Avoid dragging objects across marble countertops
What Cleaners You Should Never Use on Marble
This is not optional guidance. The following products chemically damage marble and will cause permanent surface etching:
- Vinegar and any vinegar-based cleaners
- Lemon juice or citrus-based cleaning sprays
- Bleach and bleach-containing products
- Grout cleaners with acidic formulas
- Multi-surface bathroom sprays are not specifically rated for natural stone
Why Marble Stains and Etches Over Time
Marble is composed primarily of calcium carbonate, which reacts chemically with acids. When an acidic liquid, even orange juice or coffee, contacts an unsealed or lightly sealed marble surface, it does not leave a stain. It leaves an etch mark, a chemically altered, dull patch on the stone’s surface.
Etching cannot be removed by cleaning. It requires professional polishing to resurface the affected area. This is separate from staining, which occurs when pigmented liquids absorb into unsealed pores.
How Often You Should Reseal Marble Surfaces
For most residential marble surfaces, resealing once a year is the standard recommendation. The test is simple: pour a tablespoon of water onto the marble and observe. If it beads on the surface, the sealer is still working. If it absorbs within a few minutes, it is time to reseal.
High-traffic floors and frequently used countertops may require resealing every six to eight months.
Common Marble Problems and How Professionals Fix Them
Scratches, Dullness, and Etch Marks
Surface scratches and etch marks accumulate gradually, even with careful maintenance. The finish becomes visibly duller compared to the original installation. This is normal wear and does not indicate a failing surface; it indicates a surface that is due for professional polishing.
Marble polishing and restoration using diamond abrasive pads progressively refines the surface back to its original clarity. No DIY product replicates this result.
Chips, Cracks, and Edge Damage
Chipped corners and edges are among the most common types of marble damage, usually caused by impact. These are repaired with color-matched epoxy compounds that are cured and then ground flush with the surrounding surface.
Hairline cracks in slabs, usually caused by substrate movement or impact, can be stabilized with resin injection. Structural cracks may require section replacement, depending on their severity.
Stain Removal and Deep Restoration Work
Stains from oil, wine, coffee, or rust require poultice treatments, absorbent compounds applied to the stain that draw pigment back out of the stone over 24 to 48 hours. Multiple applications are sometimes needed for deep stains. Professional treatment achieves significantly better results than household stain removers.
Marble Polishing and Restoration Explained
When Your Marble Needs Professional Polishing
If the surface has lost its reflective finish, developed visible etch marks, or shows surface scratches under direct light, it is time to consider professional marble polishing and restoration. For well-maintained residential surfaces, this typically happens every three to five years.
How the Restoration Process Works
The process begins with diamond-impregnated abrasive pads, starting at a coarser grit to remove the top layer of damaged material, then progressing through increasingly fine grits until the crystalline structure of the stone is fully restored. A crystallization or polishing compound is applied at the final stage to close surface pores and restore the mirror finish.
Severely damaged marble with deep scratches or significant staining may require epoxy fill work before the polishing phase begins.
What Results Can You Expect After Polishing
Professional polishing restores marble to a finish that is visually indistinguishable from a new installation in most cases. Marble that homeowners have written off as permanently damaged frequently comes back completely. The only exception is physical material loss from deep chips or fractures that require fill work.
Is Marble the Right Choice for Your Home?
Marble in Kitchens: Beauty vs Maintenance
Marble in a kitchen will develop a patina over time. Etch marks, minor scratches, and occasional staining are unavoidable with regular cooking use. Some homeowners value this aged character. Others find it stressful to manage.
The honest answer: marble is a practical kitchen material for people who are willing to follow the maintenance protocol consistently. For households where spills sit on counters and acidic cleaners are routine, a marble-look quartz may be more realistic.
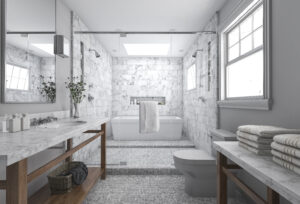
Marble in Bathrooms: Durability in Wet Areas
Bathrooms are where marble performs best in residential settings. With proper waterproofing during installation and consistent sealing, marble shower surrounds and bathroom floors last for decades without significant deterioration. The lower acid exposure and controlled environment make maintenance straightforward.
Residential vs Commercial Use Cases
Residential and commercial marble differ primarily in scale and finish preference. Residential installations focus on fine detail, consistent veining, precise joint width, and high-polish finishes that look exceptional up close.
Commercial installations prioritize durability and low maintenance. Honed (matte) finishes are more common in lobbies and high-traffic corridors because they show wear and scratches less visibly than polished surfaces. Both applications use identical installation methods; the difference is in material specification and finish selection.
Conclusion: What to Expect When Investing in Marble Installation
Marble rewards the people who take it seriously. A properly installed, consistently maintained marble surface improves with age rather than deteriorating. The key is starting with professional marble installation and committing to the maintenance routine that every marble surface requires.
Budget Baths and Showers has installed, restored, and maintained marble across hundreds of residential and commercial projects in Ohio. The approach is straightforward: accurate information before any work begins, quality installation that does not cut corners on substrate preparation or sealing, and honest guidance on what homeowners should expect from their surface over time.
If you are planning a new marble installation or working with a surface that needs restoration, contact Budget Baths and Showers for a consultation. The goal is always to find the right solution for how the space is actually used, not to sell the most expensive option available.
FAQs About Marble Installation
How long does a marble installation usually take?
A standard bathroom with marble tile floors and a shower surround takes two to four days for professional installation. That timeline does not include the 24 to 48 hours of curing time required before the shower can be used. Countertop-only installations are typically completed in one day once the template and cutting are done.
Is marble hard to maintain in daily use?
Marble maintenance is consistent rather than difficult. It requires pH-neutral cleaners, immediate spill response, and annual resealing. The maintenance becomes habitual quickly. The challenge comes when homeowners skip steps using acidic cleaners or delaying spill cleanup, which creates damage that requires professional correction.
Can damaged marble be repaired?
Yes, in most cases. Chipped edges are repaired with color-matched epoxy. Hairline cracks in slabs are stabilized with resin injection. Etch marks and surface scratches are removed through marble polishing and restoration. Deeply stained marble is treated with professional poultice applications. The surface rarely needs full replacement.
How often should marble be polished?
For residential marble surfaces with regular use and proper daily maintenance, professional polishing is typically needed every three to five years. Heavily used surfaces, such as kitchen islands and high-traffic bathroom floors, may need attention sooner. Commercial surfaces in lobbies or retail spaces may require annual polishing depending on foot traffic volume.
What is the difference between sealing and polishing marble?
Marble repair and sealing are protective: a penetrating product applied to the surface that slows liquid absorption and reduces staining risk. It does not alter the appearance of the surface. Marble polishing and restoration is corrective: an abrasive process that removes surface damage, etch marks, scratches, dullness, and restores the reflective finish of the stone. Both are necessary parts of long-term marble care, but they serve entirely different purposes.